Table of Contents
Welcome to my first blog post!
As I’ve recently, built my first computer I thought I’d base my first post on that.
Throughout the years, computing power has continued to increase whilst “price-per-performance” continues to decrease. There has never been a better time to build a computer! If this is your first time building a computer, do not fret! This build was also my first ever computer build and for once, I didn’t break anything!
Are current budget gaming builds worth it?
| Pros | Cons |
|---|---|
| Can actually play some of the current cpu/intensive games (See Example below) | Most top-end games will probably be restricted to 30-60FPS, at low quality and low resolutions 720-1080p |
| Doesn’t consume a lot of power | |
| Very affordable | |
| You can build a budget PC whilst still having good upgradeability |
What you need
1. CPU, Video Card (GPU) & CPU Cooler
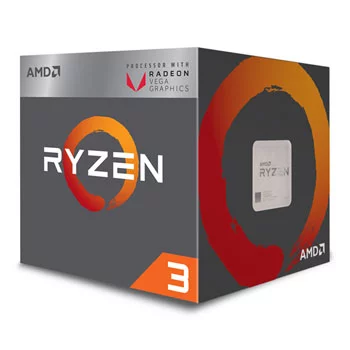
Normally, most would purchase a CPU and a dedicated video/graphics card separately. However, with AMD’s latest APUs, integrated graphics has never been more powerful!
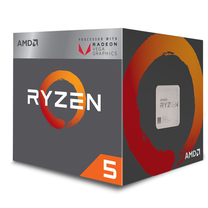
If possible, I’d recommend spending the extra £40 and getting the Ryzen 5 2400G because:
- More Threads and better multi-core performance
- higher cpu benchmark scores - Ryzen 5 2400G benchmark comparison, 1440p Gaming on Ryzen 2400G
- Better gaming performance - Ryzen 2400G vs 2200G games test
The GPU performance of Ryzen 2400G is comparable (and sometimes better) than Nvidia’s GT 1030 (£60+). Obviously, you won’t be able to play most GPU intensive games past Low/720p settings at 40+ fps.
If you want to get quite a bit more performance, the next step up would be AMD’s RX 5 series or Nvidia’s 1050 upwards, which all start at £100+, but lets be honest - at this point you’d probably rather spend a bit more as you want to play your games at max, if not high settings.
Alternatively, you could buy a pre-owned older generation graphics card like the GTX 960+, AMD’s R9 series as their performance are closer to GTX 1050 Ti’s and AMD’s RX570 and RX580 (£100-150) whilst spending less than £60!
Another Benefit with buying an AMD Ryzen is that they come with a stock cooler, saving you around £20
2. Motherboard
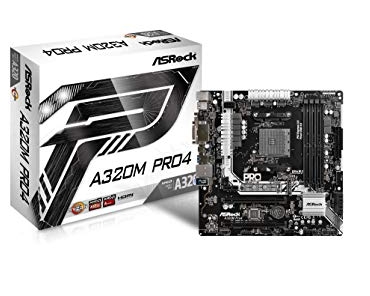
Fortunately, there are a lot of micro-ATX sized socket AM4 Motherboards that can be bought for less than £60 - Perfect for budget builds!
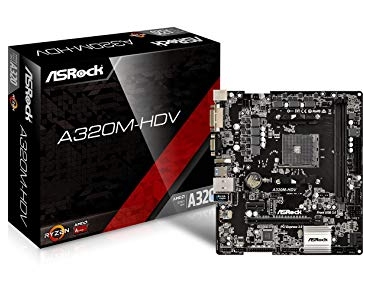
One of the cheapest I can recommend is the ASRock A320M-HDV which comes in at £41. However, it may be worth adding an extra £20+ to buy a motherboard with better features and capabilities for future upgrades.
Some motherboards have better overclocking capabilities than others, so do look into that if you want to look into overclocking.
3. RAM
The current latest type of RAM available is DDR4, which boasts higher clock speed frequencies, better performance whilst reducing power consumption.
For a gaming build you should have at least 8GB of RAM, although I would recommend 16GB. The Ryzen APU listed above takes up to 2GB of the RAM and uses it as graphics memory. Leaving you with 6GB of RAM to run your Operating System and play your game.
A lot of modern game consume can a lot of graphics memory and RAM which can actually bottleneck gaming performance. To prove my point - when I first built my PC (using my recommended parts list) I had opted for 8GB of Corsair DDR4 2400Mhz RAM. I tried to play Tom Clancy’s division 2 at lowest settings at 720p. I was struggling to achieve higher than 30-40fps… and the frame drops were quite annoying.
I also benchmarked my AMD Ryzen 2400G with Unigine Heaven and was scroing less than 1800. After upgrading to 16GB Corsair DDR4 3000MHz RAM, I was easily scoring over 3000 and was able to get 50-60FPS consistently on Tom Clancy’s division 2 and was even able to play at 1080p.
There are other factors to consider, like RAM Timings and RAM CAS Latency, but for now we will keep it simple and stick with the basics. Here’s an awesome guide to choosing RAM
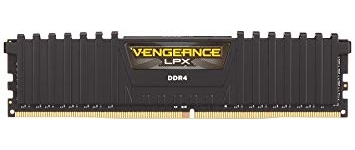
Corsair CMK16GX4M2D3000C16. 16GB (2x8GB) DDR4 3000 MHz - £68
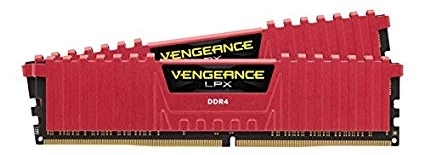
Corsair CMK16GX4M2A2400C16R. 16GB (2x8GB) DDR4 2400 MHz C16 - £65
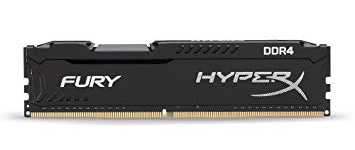
HyperX FURY HX424C15FB2/8. 8GB (1x8GB) DDR4 2400 MHz C15 - £34
4. Storage
There are many types of storage devices out there but to keep things simple, the 3 major ones are Hard Disks, SSDs or m.2 SATA and m.2 NVMe.
M.2 – A slimmer form factor for storage drives
NVMe – A protocol that lets data be read and written via PCI-E
SATA 3 – An older protocol that is typically not as fast as NVMe
Hard Disks are the slowest of them all, but also the cheapest of them all. HDDs normally come in 3.5” and 2.5” (normally laptops) form factors. A 7200 RPM Hard Drive has an average sequential read/write speed of 80-160MB/second
SSDs, unlike HDDs have no moving parts hence are quieter. They normally come in 2.5” form factor and are more durable and use less energy. Having said this, they tend to have a lower max capacity and are much more expensive than HDDs per GB. If you’re not convinced SSDs are a hell of a lot better, check this out. A SATA 3 SSD has an average sequential read/write speed up to 550MB/second
m.2 SATA is performs like an SSD but benefits from the it’s tiny m.2 size meaning the drive directly plugs into the motherboard - no messy cabling! Their pricing is also similar to SSDs
m.2 NVMe are the fastest of the 3, and also the most expensive. They also have the highest random IO read/write speed (as supposed to sequential read/write speeds). A NVME SSD has an average sequential read/write speed up to 3500MB/second
For the cheapest option, one 1TB hard drive would be enough, but for gaming and that extra speed I would highly recommend SSD. One of the most popular practices is to have either an 120GB - 500GB SSD (2.5” or m.2 form factor) or NVMe for installing the Operating system and applications and programs, whilst another 1TB+ HDD is used for saving larger files like games and media.
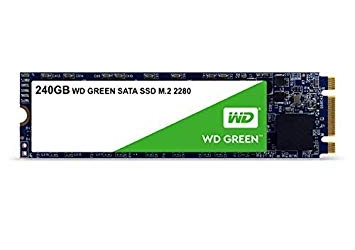
Western Digital WDS240G2G0B WD 240 GB Internal SSD M.2 SATA - £28
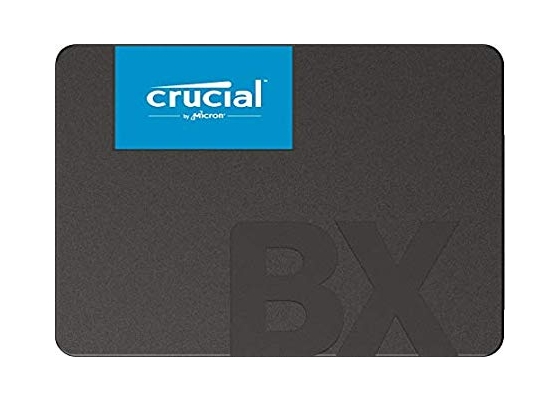
Crucial BX500 120 GB Internal SSD (3D NAND, SATA, 2.5 Inch) - £18
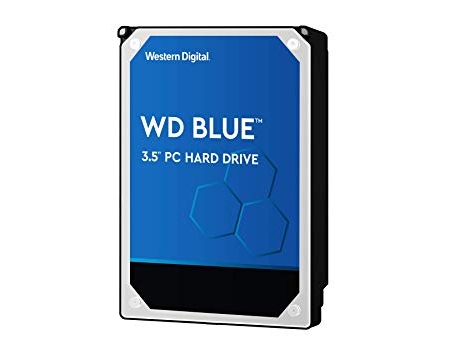
Western Digital 1 TB PC Hard Drive - Blue - £36
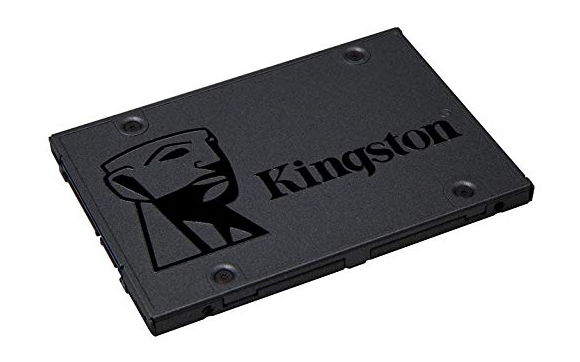
Kingston SSD A400 Solid State Drive (2.5 Inch SATA 3), 240 GB - £27
5. Power Supply
The Power Supply Unit (PSU) is what will supply your whole computer with power. It’s important that you choose a power supply with the correct Wattage. Another factor to consider when choosing a power supply is the efficiency.
“A power supply with an efficiency rating of 80 percent provides 80 percent of its rated wattage as power to your system, while losing the other 20 percent as heat.”
~ PC Wolrd
Most modern PSUs tend be “80 Plus” certified confirming that those PSUs are at least 80% efficient. However, within the “80 Plus” range there are different efficiency tiers - Bronze, Silver, Gold & Platinum and can be very expensive.
For our goals, a normal 80 Plus or Bronze-tier PSU rated at 450W will suffice. However, I recommend the extra wattage for a little more cost. It saves you from having to buy another PSU if you decided to upgrade your PC.
Check out this power supply calculator or see the estimated wattage when building with PCPartPicker.
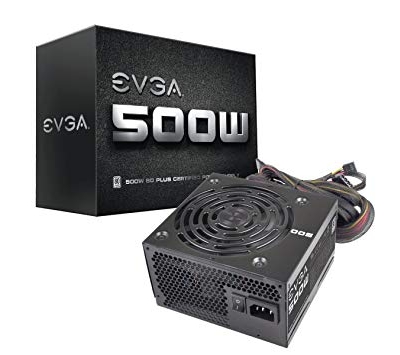
EVGA 500 W1, 80+ WHITE 500W - £30
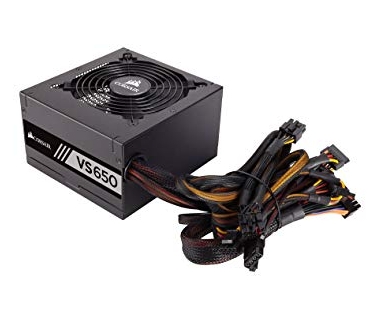
Corsair VS650 650W, 80+ - £45
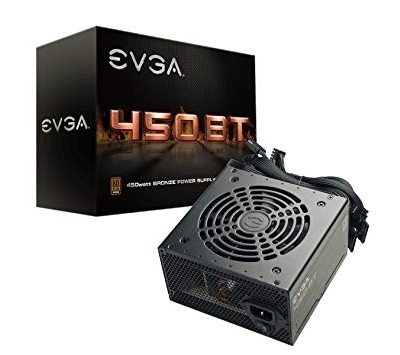
EVGA 450 BT, 80+ Bronze 450W - £43
6. PC case and Fans
We’re going to need something to keep our PC components in place… Checklist for choosing the correct case:
- Size: E-ATX, ATX, Micro-ATX, Mini-ATX. Need to make sure the size of your motherboard and other component is compatible with the case
- Looks: Whilst not being technically important, I strongly suggest you buy a PC case that you’d actually be impressed to look at. And yes, even at budget range its possible to find such!
- Drive Bays: Gives you the options to add more drives
- Expansion Slots: Most Micro-ATX cases tend to come with 4 expansion slots. Ideally this is enough for 1 Graphics card (that consumes 2 slots) and a WiFi adapter.
- Front Ports: Having extra USB ports, sound ports and even an SD card at the front of the computer comes very handy!
- Transparent Side panel: You get to physically the insides of your PC without opening it. Even better if you have RGB inside!
- Fans: Some PC cases already come with fans (and even ones with LEDs!), for cost-saving this is a must!
- Radiator: For higher end builds cooling solutions tend to evolve from a simple fan-based to another type of cooling the requires a radiator
- Thumb Screws: A lot of cases tend to come with thumb screws nowadays, but these type of screws enable you to unscrew something without a screw driver tool, very hand when having to keep opening that side panel.
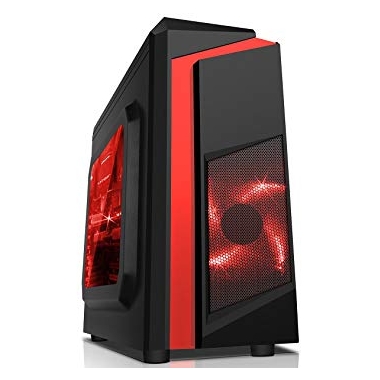
CiT F3 Gaming Case - £29
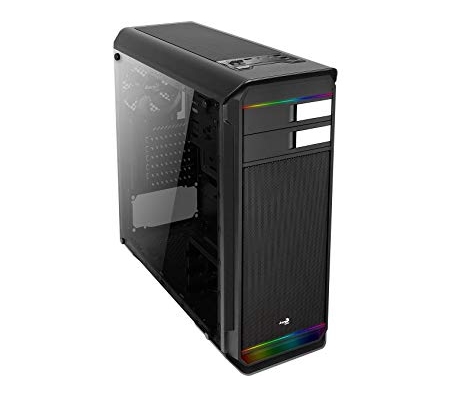
Aerocool Aero-500 RGB Gaming Case with Tempered Glass - £35
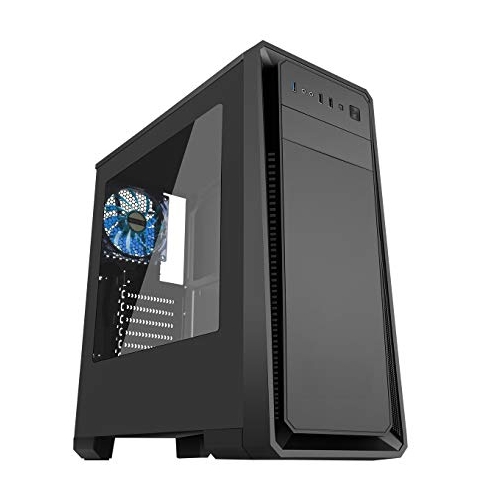
CiT Dark Soul Black - £34
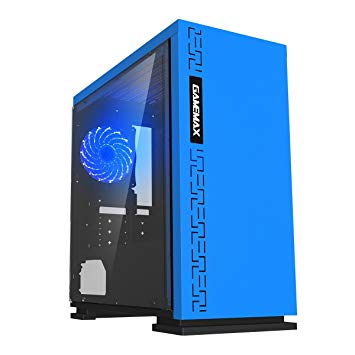
Game Max GMX-EXPEDITION-BL - £31
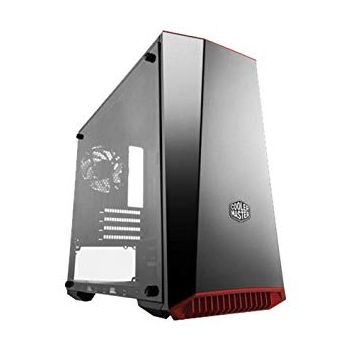
Cooler Master MasterBox Lite 3.1 - £38
7. Thermal Paste
Last but not least, is thermal paste! Thermal paste allows the heat of your PC components to dissipate. Usually applied on the CPU so that it’s heat is dissipated onto your CPU cooler which then lowers the temperature of the CPU.
There are a lot of Thermal paste brand to choose from, but a lot of them are more or less the same, so I’d recommend: ARCTIC MX-4 Edition 2019
Part’s and Equipment list
AMD SUPER BUDGET GAMING BUILD ~ £282
Edit this build on pcpartpicker
If you decide you’d rather have 8GB RAM, I highly recommend spending a little bit extra to buy 16GB RAM (as said in the build). The performance increase is huge and very noticeable in GPU intensive games like Tom Clancy’s Division 2, World War Z and Warframe.
| Type | Item | Price |
|---|---|---|
| CPU | AMD - Ryzen 3 2200G 3.5 GHz Quad-Core Processor | £78.99 @ Amazon UK |
| Motherboard | ASRock - A320M-HDV Micro ATX AM4 Motherboard | £40.98 @ Amazon UK |
| Memory | Corsair - Vengeance LPX 16 GB (2 x 8 GB) DDR4-2400 Memory | £67.56 @ Amazon UK |
| Storage | Western Digital - Caviar Blue 1 TB 3.5” 7200RPM Internal Hard Drive | £35.64 @ Amazon UK |
| Case | CiT - F3 MicroATX Mini Tower Case | £28.89 @ Amazon UK |
| Power Supply | EVGA - 500 W 80+ Certified ATX Power Supply | £30.00 |
| Total | £282.06 |
AMD BUDGET GAMING BUILD ~ £393
Edit this build on pcpartpicker
| Type | Item | Price |
|---|---|---|
| CPU | AMD - Ryzen 5 2400G 3.6 GHz Quad-Core Processor | £119.13 @ Amazon UK |
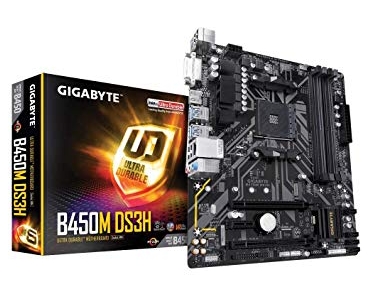
| Motherboard | Gigabyte - B450M DS3H Micro ATX AM4 Motherboard | £61.97 @ Amazon UK |
| Memory | Corsair - Vengeance LPX 16 GB (2 x 8 GB) DDR4-3000 Memory | £74.85 @ Amazon UK |
| Storage | Western Digital - Green 240 GB 2.5” Solid State Drive | £27.95 @ Amazon UK |
| Storage | Western Digital - Caviar Blue 1 TB 3.5” 7200RPM Internal Hard Drive | £35.64 @ Amazon UK |
| Case | CiT - F3 MicroATX Mini Tower Case | £28.89 @ Amazon UK |
| Power Supply | Corsair - VS 650 W 80+ Certified ATX Power Supply | £45.00 |
| Total | £393.43 |
Conclusion
Thanks for reading my first blog post!
I hope that I’ve somehow:
- Convinced you to build a budget gaming PC
- Made you consider spending a bit more on your build plans
- Made you realise you should just save and buy a higher spec PC
- Inspired you to install RGB on your current PC
Leave a comment if this helps (or not) :D
